PREREQUISITES:
- Download ISO file from Vmware website
- Make entry in DNS for your new vCenter
- Please ISO somewhere close to location of your new VC (optional)
PROCEDURE:
- Mount ISO
- Run installation from vcsa-ui-installer\win32\installer.exe

- For new installation, click Install
- On the Introduction page click NEXT
- On the next page, accept EULA and click NEXT
vCenter Server deployment target:
- ESXi hosts or vCenter Server name – provide vCenter FQDN
NOTE: If your target is ESXi host, deployment will not see Distributed Switches and you would have to build Virtual Switch instead. If your target is vCenter then all networks are visible.
- HTTPS port – 443
- Username – put desire username for example: administrator@vsphere.local
- Password – desire password

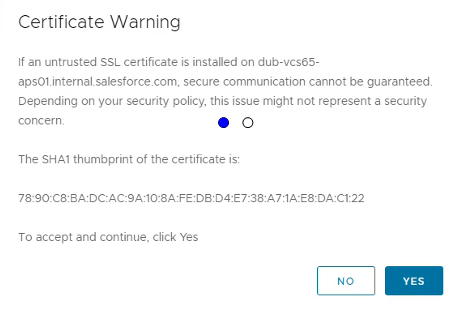
- Click NEXT and accept the Certificate on the next page
- If you selected vCenter as a target, not a host, you need to select the destination folder

NOTE: On the next page – Select Compute Resources, you are prompted to select the target host. If you see a blue clock next to the host it means the host is in Lockdown mode. The Lockdown mode needs to be disabled before you can proceed.
- Select desire ESXi host and click NEXT

Set up vCenter Server VM:
- VM name – the name for your vCenter virtual machine
- Set root password – password for the root user
- Confirm root password – confirm the password
- Click NEXT

- Select desire deployment size and click NEXT

- Select desire Datastore and click NEXT

Configure network settings:
Network – Select management network
IP version – chose IPv4 or IPv6
IP assignment – static/dynamic
FQDN – put FQDN
IP address – IP of your new vCenter
Subnet mask or prefix length – for example, 255.255.255.0 or simply 24 (no slash / )
Default gateway – IP of default gw
DNS server – IP(s) of your DNS server(s)
- Click NEXT and confirm your setting on the Ready to complete stage 1 page.
- If you are happy, click FINISH

- After successful deployment you should see this message:

- Click CONTINUE and the wizard for Stage 2 will open

- Click NEXT
- Use NTP server for time sync
- Enable SSH if needed
- Setup new SSO domain to keep separate instances of VCs using default vsphere.local or join existing SSO domain
- On the Ready to complete click FINISH, the Warning window will pop up, click OK

- Deployment of Stage 2 will start:
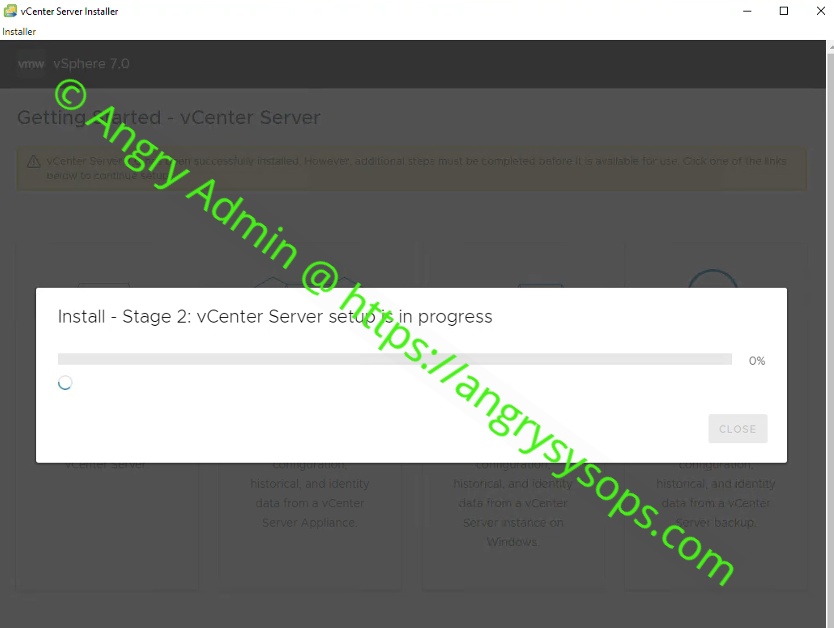

Your vCenter has been deployed!
You may consider further configuration:
- Joining VC to AD – reboot reqiured
- Add authentication source IWA or LDAP/LDAPS or Identity Federation with ADFS
- Add permissions
- Add licencesfor vCenter, ESXis, and sloutions like SRM (SRM needs to be connected first)
- Replace machine certificate with a custom certificate signed by your CA
- Create host profile(s)
- Set up back up
If you need explanation or you do have any questions related to deploying vCenter, please do not hesitate to leave the comment.
Visit my FB page: https://www.facebook.com/AngrySysOps
Subscribe to my YouTube channel: https://www.youtube.com/channel/UCRTcKGl0neismSRpDMK_M4A